3D Scanning with 3DF Zephyr
Introduction
To create a fine 3D scan model, the subject needs to be lit well and the camera needs to take photos around the subject and not have the subject on a turntable. This allows the software to find nodes in the scene to understand the orientation of the camera in 3D space.

Process
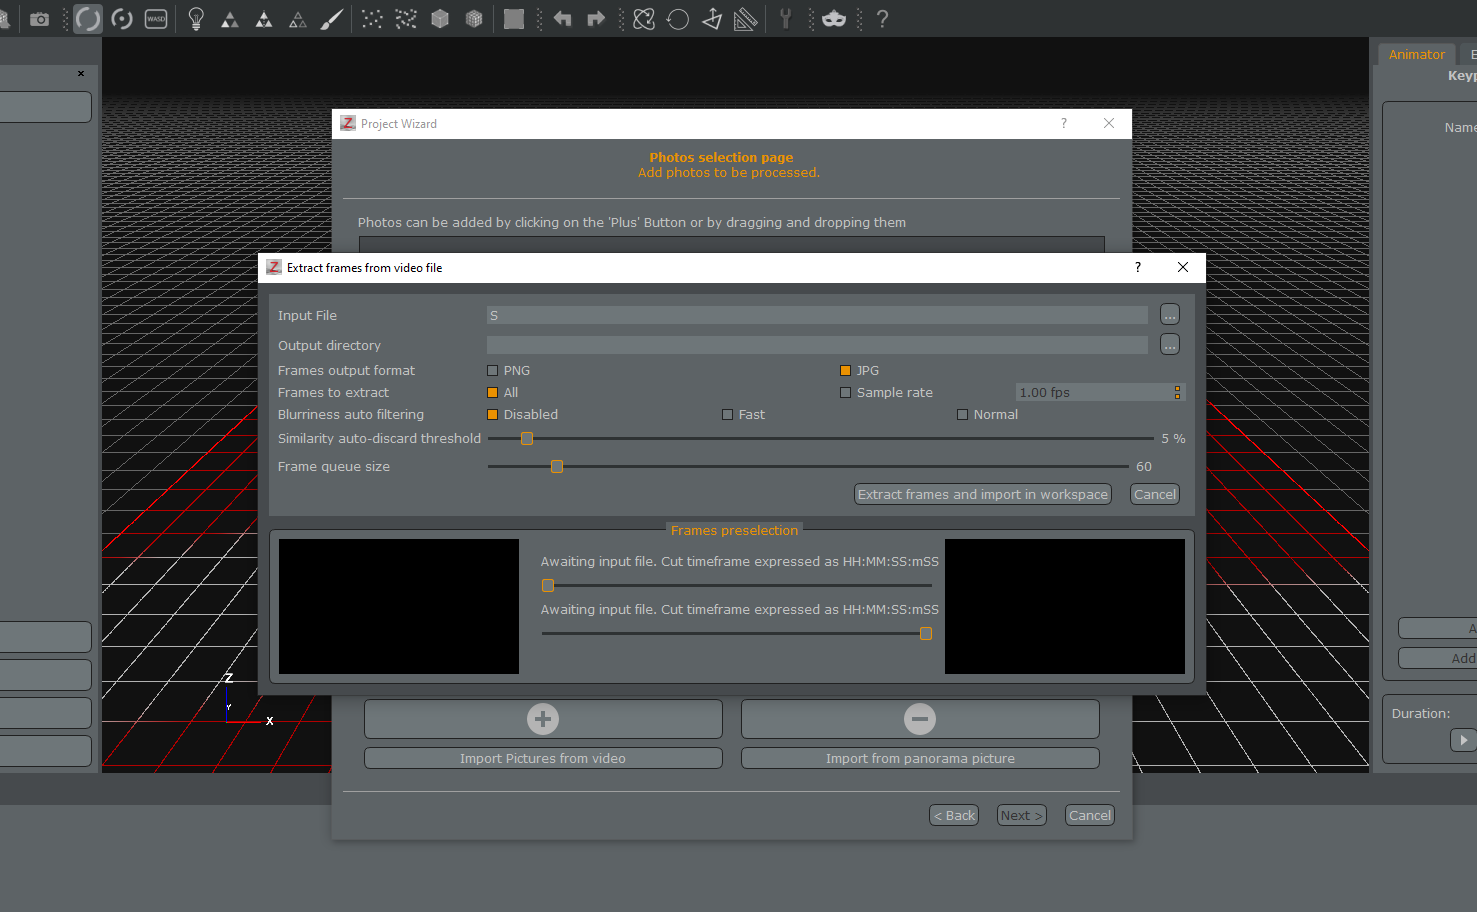
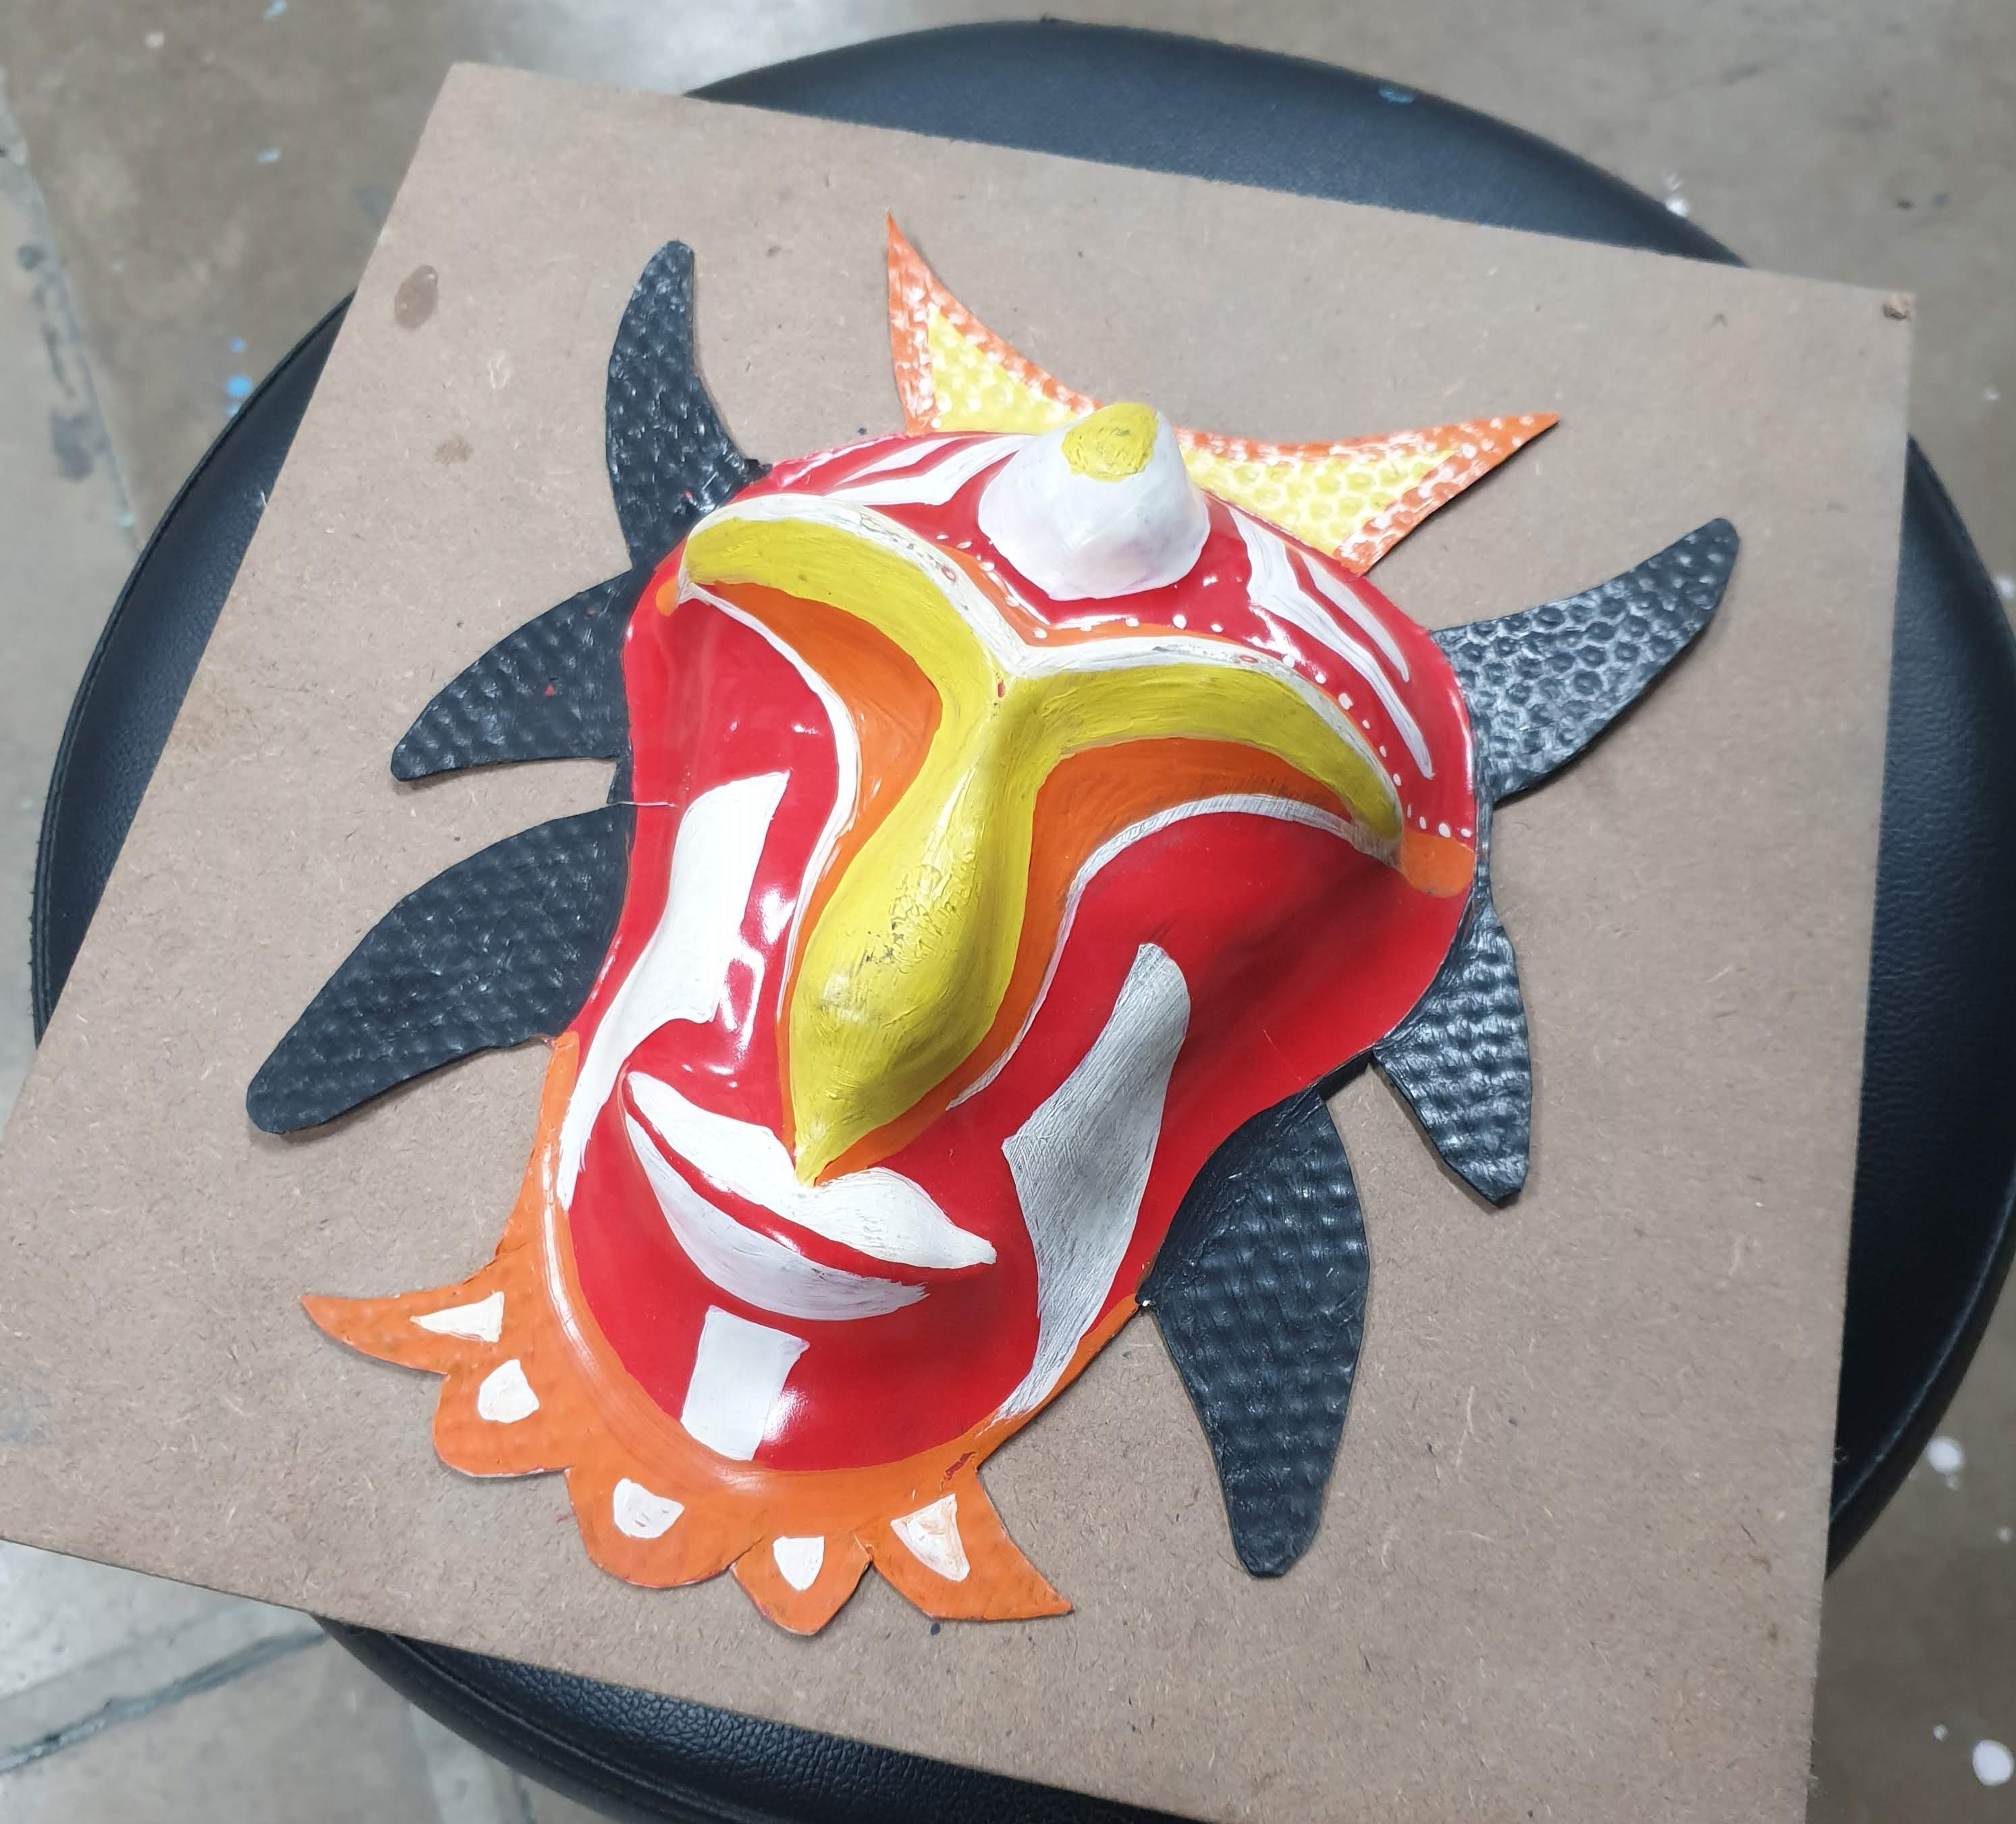
During the first trial of scanning a mask, the model did not come as expected as the surface wasn't plain but had a lot of colours and bumps. To fix this, an MDF board was used as the buttom plane. It was also noticed that when only one round of photos were taken at the fixed height, all the hidden parts did not come out detailed as the rest of the object. Based on this output, the final shot had two rounds of photos from a top and bottom. Using the trial version of Zephyr, only 47 photos can be uploaded. Based on the detailing required, there are modes to get fine or detailed models. The input can also be a video in which the motion blur can be compensated and also the frame rate can be decided.
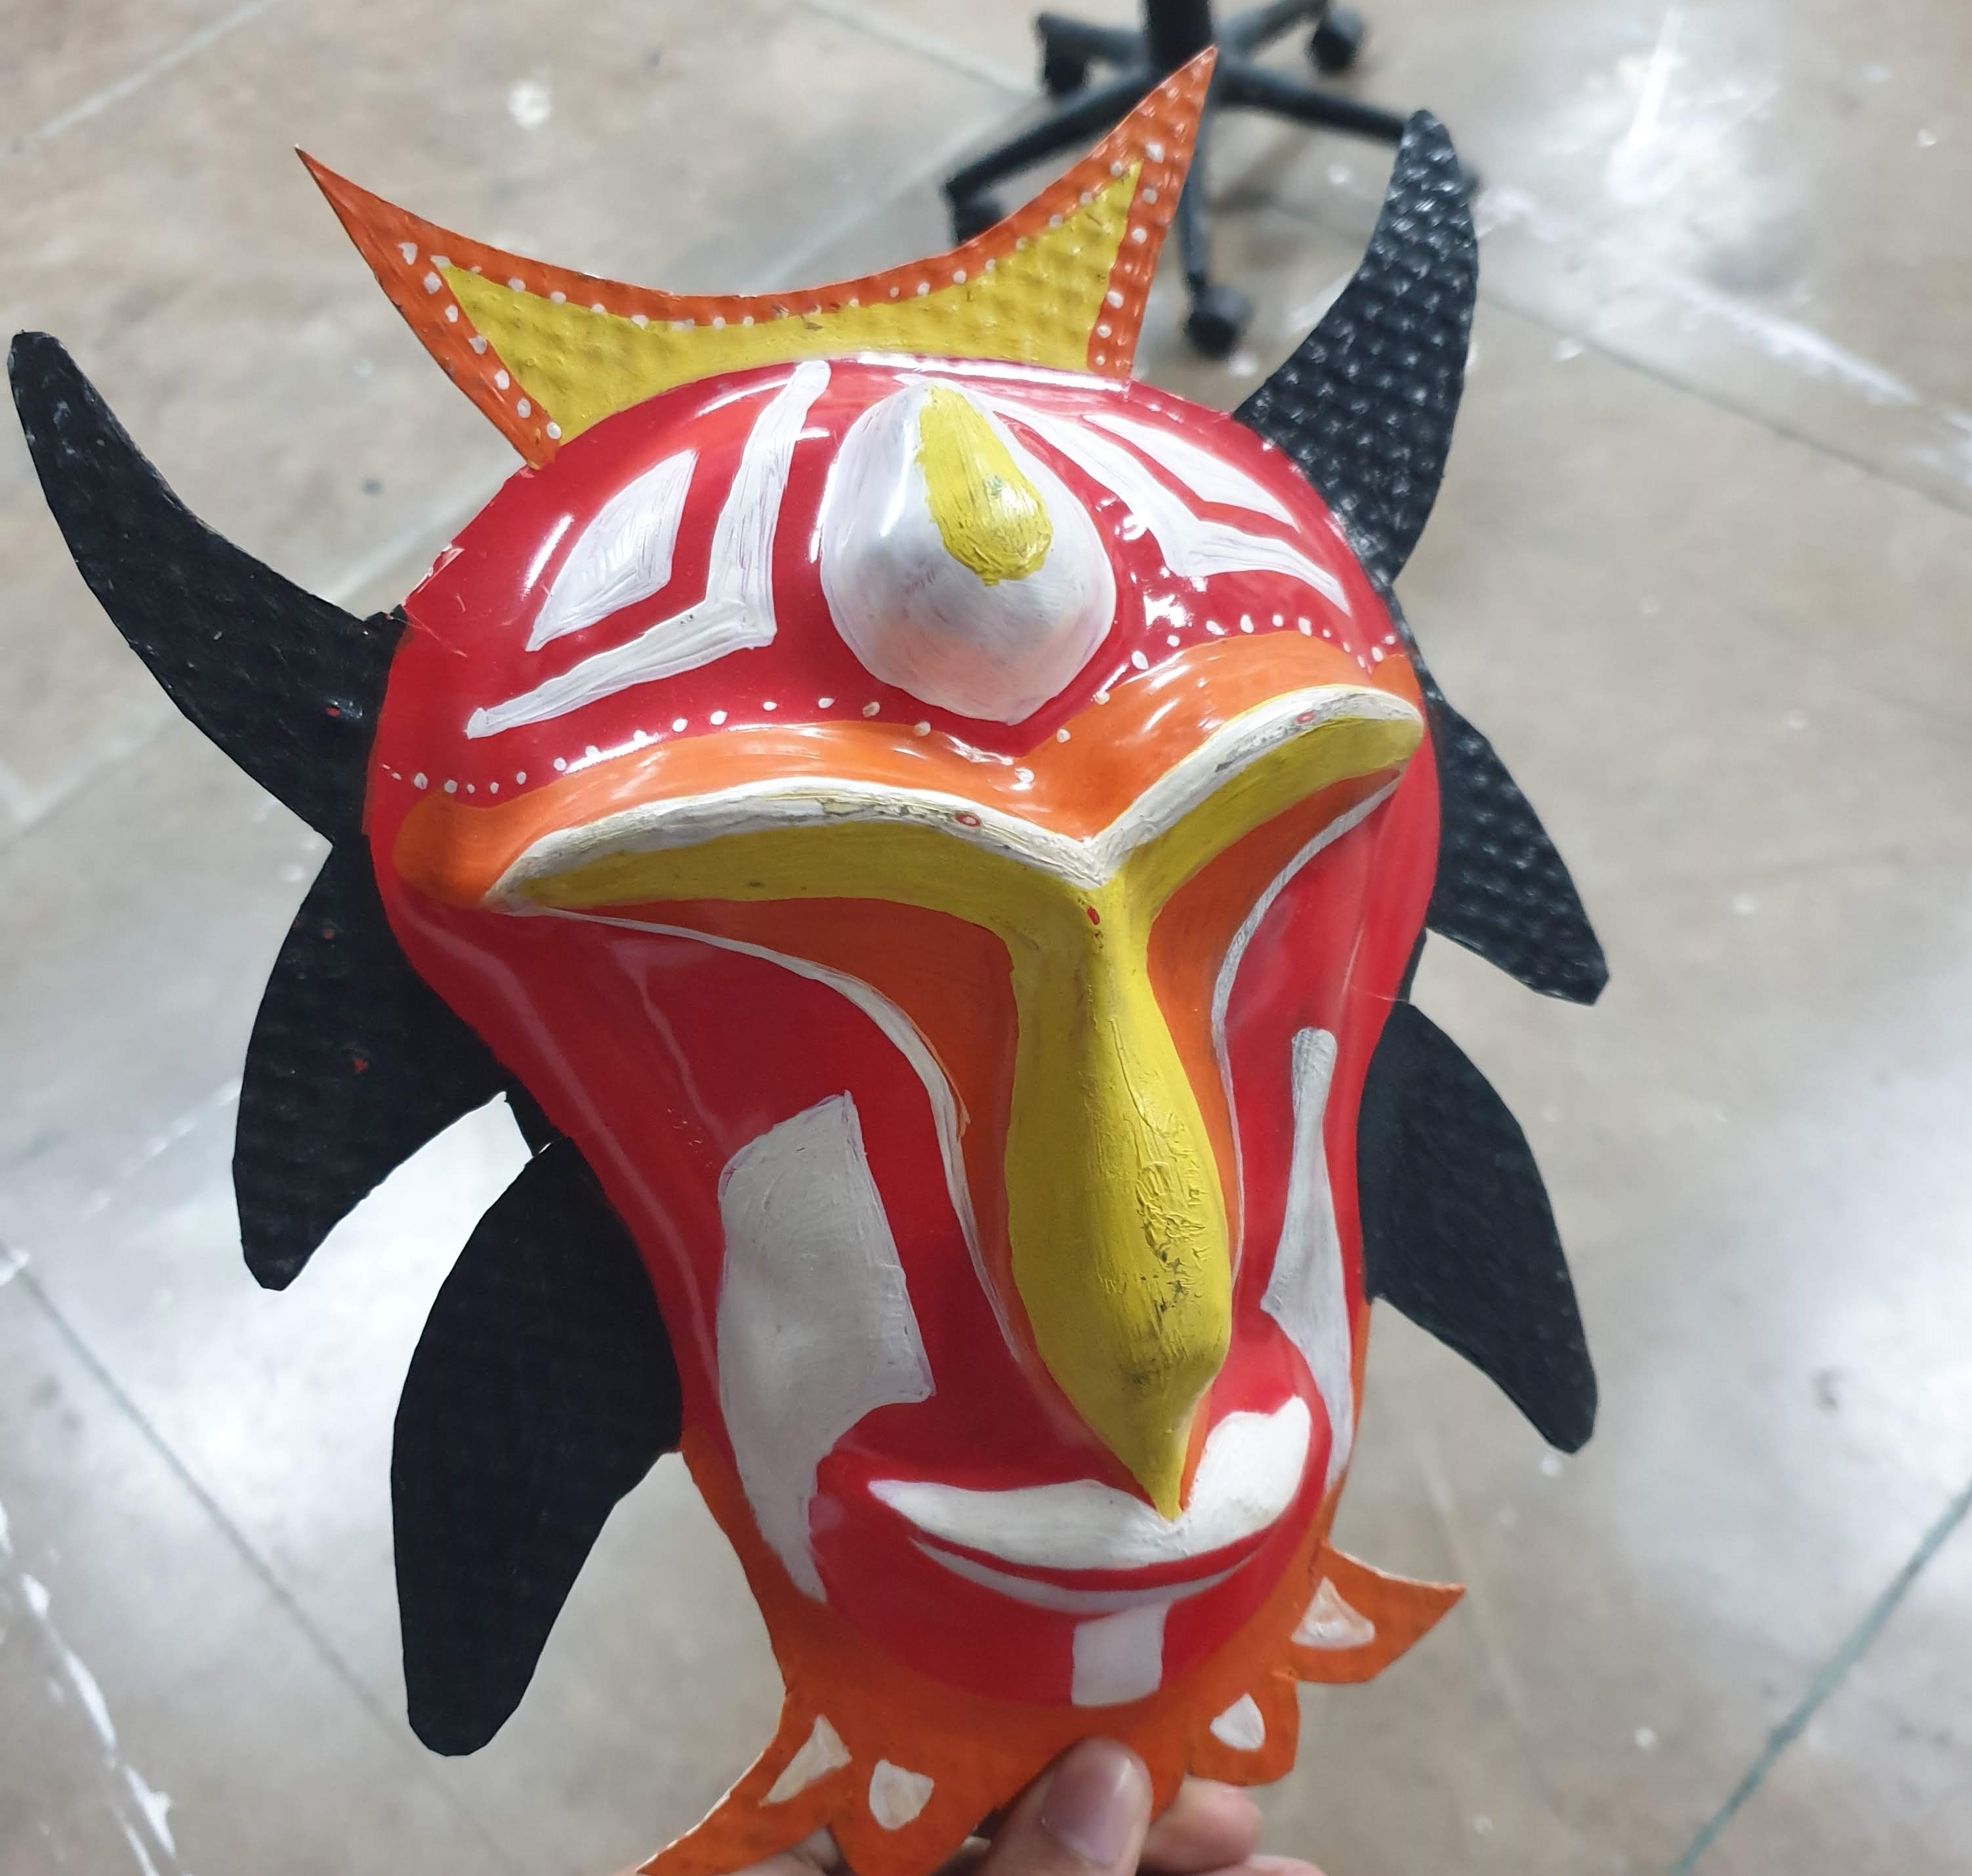
The subject to scan:
Output
The outputs are both the textured model and camera solve of its place in space. Further these models can be exported to OBJ and STL files which can be sent for 3D printing.